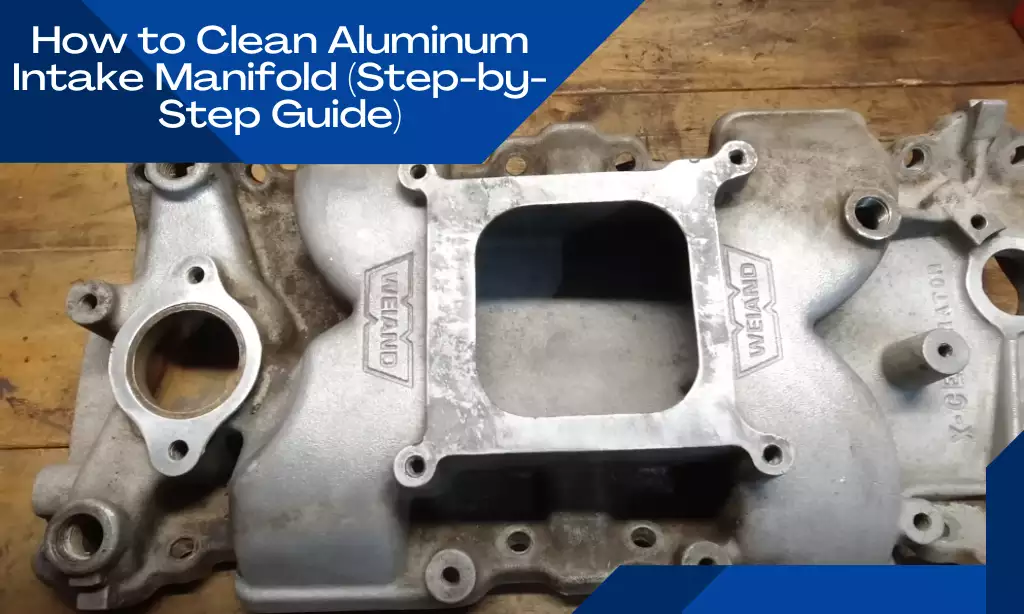
How to Clean Aluminum Intake Manifold (Step-by-Step Guide)
Maintaining a clean and well-functioning aluminum intake manifold is crucial for optimal engine performance. Over time, dirt, oil, and carbon deposits can accumulate, hindering airflow and reducing efficiency. If left unaddressed, a dirty intake manifold can lead to decreased power, rough idling, and even engine damage.
In this comprehensive guide, we will walk you through the step-by-step process of cleaning an aluminum intake manifold. Whether you are a seasoned DIY enthusiast or a novice, our detailed instructions and tips will help you restore your intake manifold to its optimal condition.
With regular cleaning, you can ensure smoother engine operation, improved fuel efficiency, and extended engine life. So let’s dive in and discover how to effectively clean your aluminum intake manifold for peak performance!
Understanding the Aluminum Intake Manifold
The aluminum intake manifold is a vital component in the operation of an internal combustion engine. It serves several important functions and plays a critical role in the overall performance of the engine. Here are key aspects to understand about the aluminum intake manifold:
1. Function and Role
– The primary function of the intake manifold is to deliver the air-fuel mixture to the engine’s cylinders for combustion.
– It acts as a pathway, distributing the mixture evenly to each cylinder, ensuring efficient combustion and power generation.
– The intake manifold also houses additional components such as the throttle body, fuel injectors, or carburetor, which control the airflow and fuel delivery.
2. Common Issues Caused by a Dirty or Clogged Intake Manifold
– Over time, the intake manifold can accumulate dirt, oil, carbon deposits, and other contaminants.
– A dirty or clogged intake manifold can restrict the airflow, leading to reduced engine performance, decreased fuel efficiency, and potential drivability issues.
– It can disrupt the air-fuel mixture ratio, causing rough idling, hesitation, misfires, and even engine stalling.
– Additionally, a clogged intake manifold may lead to increased carbon buildup on the intake valves, further impacting engine performance.
3. Importance of Regular Maintenance and Cleaning
– Regular maintenance and cleaning of the aluminum intake manifold are crucial for optimal engine performance and longevity.
– Cleaning the intake manifold helps remove accumulated deposits, ensuring unrestricted airflow and proper fuel delivery.
– It can restore lost power, improve fuel efficiency, and enhance overall engine responsiveness.
– By preventing excessive carbon buildup, maintenance can also extend the lifespan of other engine components, such as the intake valves.
Preparing for Cleaning
Before you begin cleaning your aluminum intake manifold, it is important to make the necessary preparations to ensure a smooth and safe process. Here are the key steps to take:
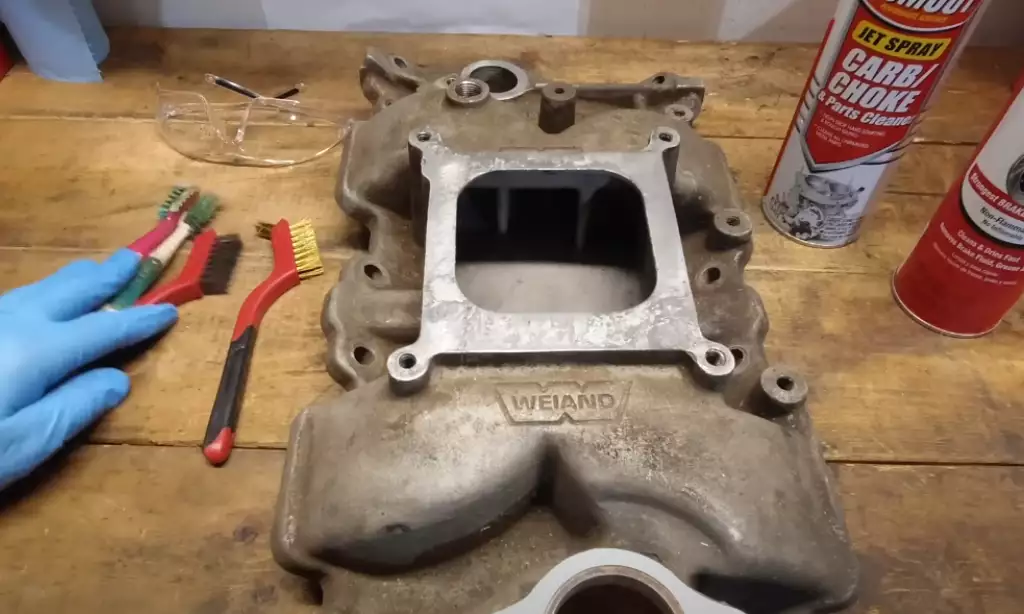
Gathering the necessary tools and materials
– Start by gathering the tools and materials you’ll need for the cleaning process. These may include:
– Safety goggles and gloves to protect your eyes and hands.
– A set of wrenches or sockets to disconnect the intake manifold (if required).
– Screwdrivers for removing clamps or fasteners.
– Cleaning solutions or degreasers suitable for use on aluminum surfaces.
– Soft brushes or toothbrushes for scrubbing.
– Clean rags or towels for wiping and drying.
Safety precautions to consider before starting the cleaning process
– Ensure that the engine is cool before attempting to clean the intake manifold to avoid burns.
– Work in a well-ventilated area or outdoors to minimize exposure to fumes.
– If using chemical cleaners, read and follow the instructions and safety guidelines provided by the manufacturer.
– Avoid using excessive force when disassembling or removing the intake manifold to prevent damage to surrounding components.
Removing the intake manifold from the engine (if necessary)
– Depending on the design of your engine, you may need to remove the intake manifold for thorough cleaning.
– Consult the manufacturer’s service manual or reputable online resources for guidance on how to properly remove the intake manifold.
– Take care to disconnect any electrical connectors, vacuum hoses, or other components attached to the manifold.
– Label or document the connections and components for easy reinstallation later.
Cleaning Methods for Aluminum Intake Manifold
When it comes to cleaning an aluminum intake manifold, there are different methods you can employ to effectively remove dirt, oil, and carbon deposits. Here are two common cleaning methods:
Manual Cleaning Method:
1. Removing loose dirt and debris
– Start by removing any loose dirt or debris from the intake manifold using a soft brush or compressed air.
– Carefully brush or blow away the dirt, being cautious not to push it further into the manifold or surrounding engine components.
2. Using a soft brush and mild detergent for scrubbing
– Mix a mild detergent or dish soap with warm water in a bucket.
– Dip a soft brush or toothbrush into the soapy water and gently scrub the surface of the intake manifold.
– Pay attention to areas with visible deposits or stains, ensuring thorough cleaning.
3. Rinse with water and dry thoroughly
– Once you have scrubbed the manifold, rinse it thoroughly with clean water to remove the soap residue.
– Use a clean cloth or towel to dry the manifold completely before reinstallation.
– Ensure that no moisture remains to prevent corrosion or water entering the engine.

4. Inspecting for stubborn stains or residue
– If there are stubborn stains or deposits remaining on the manifold, you may need to employ additional cleaning methods, such as chemical cleaning.
Chemical Cleaning Method
1. Selecting a suitable aluminum-safe cleaner
– Choose a commercial aluminum-safe cleaner or a specific intake manifold cleaner recommended by the manufacturer.
– Read and follow the instructions provided by the cleaner manufacturer carefully.
2. Applying the cleaner and allowing it to sit
– Spray or apply the cleaner onto the surface of the intake manifold, ensuring full coverage.
– Let the cleaner sit for the recommended duration, allowing it to penetrate and break down the deposits.
3. Scrubbing with a brush or toothbrush
– After the cleaner has had sufficient time to work, use a soft brush or toothbrush to scrub the manifold.
– Focus on areas with stubborn stains or deposits, applying gentle pressure to loosen and remove the buildup.
4. Thorough rinsing and drying
– Rinse the manifold thoroughly with clean water, ensuring all traces of the cleaner are removed.
– Use a clean cloth or towel to dry the manifold completely before reinstallation.
Dealing with Stubborn Stains and Buildup
While regular cleaning methods can effectively remove most dirt and deposits from an aluminum intake manifold, stubborn stains or buildup may require additional attention. Here are some techniques to deal with such stubborn stains and deposits:
1. Specialized Cleaners or Solvents
– For particularly stubborn stains or heavy deposits, you can consider using specialized cleaners or solvents designed for removing specific types of buildup.
– These cleaners may include chemical solutions specifically formulated for dissolving carbon deposits, oil residue, or other stubborn stains.
– Follow the instructions provided by the cleaner manufacturer and apply the solution to the affected areas, allowing it to penetrate and loosen the stubborn buildup.
2. Gentle Scraping or Brushing
– If the stains or deposits are particularly stubborn, you can try gently scraping or brushing the surface using a plastic scraper or a soft-bristle brush.
– Be cautious not to use abrasive tools or materials that can scratch or damage the aluminum surface.
– Apply gentle pressure and work in small areas, gradually loosening and removing the stubborn buildup.
3. Soaking in Cleaning Solution
– If the buildup is extensive or difficult to remove, you may consider soaking the intake manifold in a suitable cleaning solution.
– Fill a container or basin with the recommended cleaning solution and immerse the manifold, ensuring it is fully submerged.
– Let it soak for the recommended duration to allow the solution to break down the stubborn stains or deposits.
– After soaking, use a soft brush or cloth to scrub the manifold and remove any loosened buildup.
4. Repeat the Cleaning Process
– In some cases, multiple cleaning cycles may be necessary to completely eliminate stubborn stains or deposits.
– After each cleaning cycle, rinse the manifold thoroughly with clean water to remove any residue from the cleaning agents.
– Inspect the manifold to check if the stubborn stains or deposits have been effectively removed. If necessary, repeat the cleaning process until the desired results are achieved.

Reinstalling the Intake Manifold
After cleaning and addressing any stubborn stains or buildup on your aluminum intake manifold, it’s time to reinstall it back onto the engine. Here are the general steps to follow:
1. Inspecting gaskets and seals
– Before reinstalling the intake manifold, carefully inspect the gaskets and seals for any signs of wear, damage, or deterioration.
– If necessary, replace the gaskets and seals to ensure a proper seal and prevent any potential leaks.
2. Aligning and placing the intake manifold
– Align the intake manifold with the corresponding ports on the engine.
– Take care to connect any electrical connectors, vacuum hoses, or other components that were disconnected during the removal process.
3. Tightening the bolts or fasteners
– Start by loosely tightening the bolts or fasteners that secure the intake manifold in place.
– Refer to the manufacturer’s specifications or service manual for the correct torque values and tightening sequence.
– Gradually tighten the bolts or fasteners in a crisscross or star pattern to ensure even pressure distribution.
4. Reconnecting components
– Reattach any hoses, tubes, sensors, or other components that were disconnected during the removal process.
– Ensure that all connections are secure and properly tightened.
5. Double-checking connections and alignments
– Once the intake manifold is reinstalled, double-check all connections, alignments, and fastenings to ensure everything is in place.
– Look for any signs of interference or misalignment that could affect the manifold’s performance.
Post-Cleaning Maintenance and Tips
After cleaning and reinstalling your aluminum intake manifold, it’s important to take proper care and implement post-cleaning maintenance to ensure its longevity and optimal performance. Here are some essential tips to consider:
1. Regular inspections
– Periodically inspect your intake manifold for any signs of dirt, oil residue, or carbon buildup.
– Catching potential issues early can help prevent the buildup from becoming severe and affecting engine performance.
2. Scheduled cleanings
– Establish a regular cleaning schedule for your intake manifold based on the manufacturer’s recommendations or the specific needs of your vehicle.
– Consider factors such as driving conditions, fuel quality, and the overall cleanliness of your engine to determine the appropriate cleaning interval.
3. Air filter maintenance
– A clean and properly functioning air filter is essential for preventing debris and contaminants from entering the intake manifold.
– Regularly inspect and replace the air filter as recommended by the manufacturer to ensure optimal filtration.
4. Fuel quality
– Use high-quality fuel to minimize the formation of deposits in the intake manifold.
– Poor-quality fuel can contain impurities that contribute to carbon buildup and other issues.
5. Professional maintenance
– Consider having your intake manifold and engine professionally inspected and cleaned by a qualified mechanic during routine maintenance.
– They have specialized tools and equipment to thoroughly clean and address any potential issues that may arise.
6. Follow manufacturer’s guidelines
– Always refer to the manufacturer’s guidelines and recommendations for cleaning, maintenance, and product compatibility.
– Each vehicle and intake manifold may have specific requirements, so it’s crucial to follow the instructions provided.
FAQ:
Q1: Why is it important to clean the aluminum intake manifold?
A1: Cleaning the aluminum intake manifold is important for maintaining the performance and efficiency of your engine. Over time, dirt, oil residue, and carbon deposits can accumulate on the manifold, restricting airflow and affecting the fuel-air mixture. This can lead to reduced engine power, decreased fuel efficiency, and potential drivability issues.
Q2: What tools and materials do I need to clean the aluminum intake manifold?
A2: To clean the aluminum intake manifold, you will need safety goggles and gloves, wrenches or sockets, screwdrivers, cleaning solutions or degreasers suitable for aluminum surfaces, soft brushes or toothbrushes, and clean rags or towels for wiping and drying.
Q3: Can I clean the intake manifold without removing it from the engine?
A3: In some cases, you can clean the intake manifold without removing it from the engine. However, for more thorough cleaning, removing the intake manifold allows better access to all surfaces, ensuring a more effective cleaning process.
Q4: How often should I clean the aluminum intake manifold?
A4: The frequency of cleaning the aluminum intake manifold depends on various factors such as driving conditions, fuel quality, and the overall cleanliness of your engine. As a general guideline, it is recommended to clean the intake manifold every 30,000 to 50,000 miles or as per the manufacturer’s recommendations.
Q5: Can I use any cleaner on the aluminum intake manifold?
A5: It is important to use cleaners specifically formulated for use on aluminum surfaces. Avoid using harsh or abrasive cleaners that can damage the aluminum. Always read the instructions provided by the cleaner manufacturer and ensure it is safe for use on aluminum.
Q6: How do I deal with stubborn stains or buildup on the intake manifold?
A6: For stubborn stains or heavy deposits, you can use specialized cleaners or solvents designed for removing specific types of buildup. You can also try gentle scraping or brushing with plastic tools and consider soaking the manifold in a cleaning solution. Follow the instructions provided by the cleaner manufacturer and take precautions to avoid damaging the aluminum surface.
Q7: Can I reinstall the intake manifold myself after cleaning?
A7: Reinstalling the intake manifold requires proper alignment, torque values, and reconnection of components. If you have the necessary knowledge, tools, and experience, you can reinstall it yourself. However, if you’re unsure, it is recommended to seek professional assistance to ensure a proper and secure installation.
Q8: Are there any post-cleaning maintenance tips for the aluminum intake manifold?
A8: Yes, some post-cleaning maintenance tips include regular inspections, scheduled cleanings, proper air filter maintenance, using high-quality fuel, and following the manufacturer’s guidelines for cleaning and maintenance. These practices will help keep the intake manifold clean and maintain optimal engine performance.

- Why Are My Car Headlights Not Bright Enough? - May 9, 2024
- How Long Can You Drive With An EVAP Leak? - May 9, 2024
- What Does B Stand for in a Car? [Full Guide] - May 9, 2024
![What Cars Are Made in Japan? [2024]](https://automhelp.com/wp-content/uploads/2023/07/CARS-MADE-IN-JAPAN-HAVE-BETTER-QUALITY-THAN-THOSE-MADE-IN-NORTH-AMERICA_-ENGINEER-COMPARES-LEXUS-RX_000064838-768x432.webp)