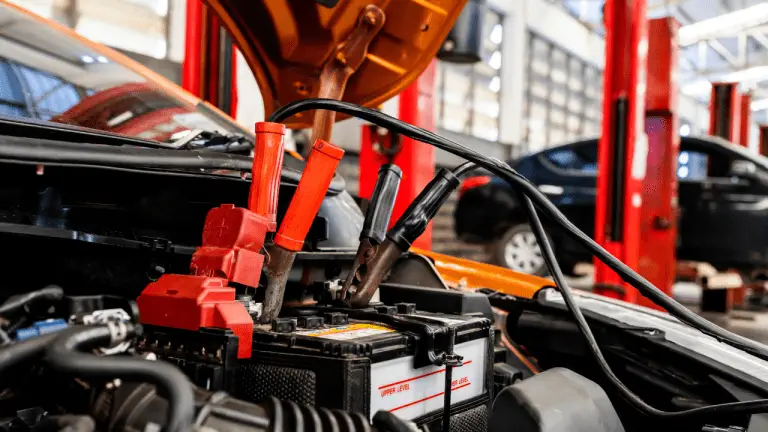
How to Flush a Heater Core Redneck Style? (You must know)
When winter chill sets in and your vehicle’s heater starts blowing cold air instead of warmth, it’s a sure sign that your heater core might be clogged. While professional flushing services are available, some folks prefer a more hands-on approach, often affectionately referred to as “redneck style.” This down-to-earth method utilizes simple tools and household items to get the job done without breaking the bank.
In this DIY guide, we’ll take a look at how you can flush your heater core redneck style, using readily available materials and a little elbow grease. Whether you’re a seasoned DIY enthusiast or just looking to save some cash, this unconventional method might be just what you need to restore cozy warmth to your vehicle’s cabin during those chilly winter months. So, roll up your sleeves, grab your tools, and let’s dive into the world of redneck-style heater core flushing.
What’s a Heater Core?
A heater core is a crucial component of a vehicle’s heating and cooling system, primarily found in automobiles. It serves the purpose of providing heat to the interior cabin of the vehicle during cold weather conditions. Essentially, it acts as a small radiator, utilizing the heat generated by the engine coolant to warm up the air that is then blown into the cabin through the vehicle’s vents.
Located behind the dashboard of the vehicle, the heater core consists of a network of small tubes and fins. Hot coolant from the engine flows through these tubes, while the blower fan forces air over the outside of the heater core. As a result, the heat from the coolant transfers to the air, warming it before it enters the cabin. This process allows occupants to adjust the interior temperature of the vehicle for comfort, regardless of the weather outside.
In addition to providing warmth, the heater core also plays a role in defrosting the windshield and windows by circulating warm air across their surfaces. This helps to clear condensation and frost, ensuring visibility while driving in cold and damp conditions.
Despite its importance, heater cores can occasionally malfunction or develop leaks due to wear and tear over time. When a heater core fails, it can lead to issues such as a lack of heat in the cabin, coolant leaks inside the vehicle, or fogging of the windows.
Repairing or replacing a heater core can be a labor-intensive task, often requiring the removal of the dashboard to access the component. Therefore, proper maintenance of the cooling system, including regular checks for leaks and adequate coolant levels, is essential to ensure the efficient operation of the heater core and overall comfort while driving.
What Are Bad Heater Core Symptoms?
Identifying symptoms of a bad heater core is crucial for maintaining the comfort and functionality of a vehicle’s heating system. One prominent indication of a faulty heater core is a noticeable decrease in the amount of heat produced by the vehicle’s heating system. This reduction in heat can manifest as lukewarm air blowing from the vents, even when the heater is set to its maximum temperature. Additionally, a sweet smell inside the cabin, often resembling the scent of antifreeze or coolant, can indicate a leak in the heater core.
Another common symptom of a bad heater core is the presence of fog or mist on the interior windows, particularly when the vehicle’s heater is turned on. This occurs due to the leakage of coolant from the heater core, which can condense on the windows and impair visibility while driving. Additionally, a wet carpet or floorboard on the passenger side of the vehicle may indicate a leak in the heater core, as coolant can seep into the interior of the vehicle and accumulate in the footwell area.
In some cases, a malfunctioning heater core can also lead to overheating of the engine, as the coolant levels may become depleted due to a leak. This can result in engine performance issues, including overheating and potential damage to engine components if left unaddressed. Furthermore, a gurgling or sloshing noise coming from the dashboard area when the heater is turned on may suggest air bubbles or coolant flow issues within the heater core.
Overall, being vigilant for these symptoms can help drivers identify and address potential issues with the heater core before they escalate, ensuring the continued comfort and safety of occupants while driving. If any of these symptoms are observed, it is advisable to have the vehicle inspected by a qualified mechanic to diagnose and repair any underlying problems with the heater core or cooling system.
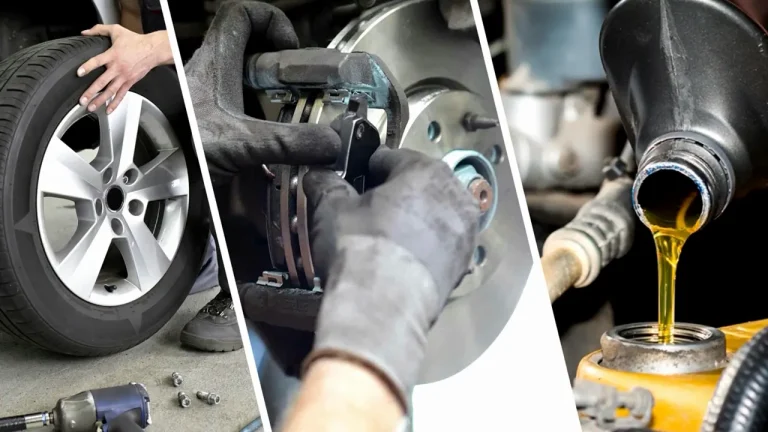
How Do You Fix a Bad Heater Core?
Fixing a bad heater core typically involves several steps to address the underlying issue and restore the functionality of the vehicle’s heating system. The specific approach to repair may vary depending on the severity of the problem and the vehicle’s make and model.
- Diagnosis: The first step in fixing a bad heater core is to accurately diagnose the problem. This may involve performing a visual inspection for signs of leaks, such as coolant on the floor mats or a sweet smell inside the cabin. Additionally, testing the vehicle’s heating system to assess its performance and temperature output can help pinpoint any issues with the heater core.
- Coolant Drainage: Before proceeding with repairs, it’s essential to drain the coolant from the vehicle’s cooling system to prevent spills and contamination. This typically involves locating and opening the radiator drain valve or removing the lower radiator hose to allow the coolant to drain into a suitable container.
- Accessing the Heater Core: In many vehicles, accessing the heater core for repair requires removing the dashboard or accessing it from underneath the vehicle’s hood. This process can be labor-intensive and may require specialized tools and knowledge of the vehicle’s interior components.
- Repair or Replacement: Depending on the nature of the problem, the heater core may need to be repaired or replaced entirely. If the heater core is leaking, small leaks may be repaired using epoxy or sealant products designed specifically for cooling system repairs. However, if the heater core is severely damaged or corroded, replacement is often the most effective solution.
- Reassembly and Coolant Refill: Once the heater core repair or replacement is complete, the vehicle’s interior and cooling system components are reassembled. This includes reinstalling the dashboard or any other components that were removed to access the heater core. After reassembly, the cooling system is refilled with fresh coolant according to the manufacturer’s specifications.
- Testing: After completing the repair process, it’s essential to test the vehicle’s heating system to ensure proper functionality. This involves running the engine and checking for leaks, as well as testing the heater to verify that it produces hot air at the desired temperature.
- Final Inspection: Once the repair is complete and the heating system is functioning correctly, a final inspection is performed to confirm that all components are properly installed and secured. This helps ensure the safety and reliability of the vehicle’s heating system for continued use.
How to Flush a Heater Core Redneck Style
Flushing a heater core “redneck style” typically involves using simple tools and household items to perform the task in a DIY manner. Here’s a step-by-step guide:
- Park the Vehicle: Ensure the vehicle is parked on a level surface and the engine is turned off. Allow it to cool down completely before starting the flushing process.
- Locate Heater Core Hoses: Identify the heater core hoses connected to the firewall of the vehicle. These hoses are usually located near the engine and provide access to the heater core.
- Prepare Tools and Materials: Gather a garden hose with a nozzle attachment, a bucket, and a pair of pliers or wrenches for loosening hose clamps.
- Disconnect Hoses: Using pliers or wrenches, loosen the hose clamps securing the heater core hoses to the firewall. Carefully disconnect the hoses from the firewall, being prepared for any coolant spillage.
- Flush with Water: Insert the nozzle of the garden hose into one of the heater core hoses. Turn on the water supply and allow it to flow through the heater core. This will help flush out any debris or sediment that may be causing poor heating performance.
- Reverse Flush: After flushing one hose, repeat the process with the other heater core hose. This time, flush water through the hose in the opposite direction to ensure thorough cleaning.
- Monitor Water Discharge: As you flush the heater core, observe the water coming out from the opposite hose. Initially, it may appear discolored or contain debris, indicating that the flushing process is effectively removing buildup from the core.
- Repeat if Necessary: Depending on the condition of the heater core, you may need to repeat the flushing process multiple times until the discharged water runs clear and free of debris.
- Reconnect Hoses: Once the flushing process is complete, reconnect the heater core hoses to the firewall. Tighten the hose clamps securely to prevent any leaks.
- Refill Coolant: Refill the vehicle’s cooling system with fresh coolant according to the manufacturer’s specifications. This helps replenish any lost coolant during the flushing process and ensures proper engine cooling.
- Test Heating System: Start the engine and test the vehicle’s heating system to ensure it is functioning correctly. Verify that hot air is blowing from the vents at the desired temperature.
Can a Bad Heater Core Damage My Car?
Yes, a bad heater core can potentially damage your car if left untreated or if the underlying issues are not addressed promptly. While the heater core itself may not directly cause damage to the vehicle, the problems associated with a malfunctioning heater core can lead to various issues that can affect the overall performance and integrity of the car.
One of the primary concerns with a bad heater core is the risk of coolant leakage. A leaking heater core can result in coolant entering the vehicle’s interior, leading to damage to the carpet, floorboards, and other interior components. Prolonged exposure to coolant can also cause corrosion or rusting of metal parts, potentially compromising the structural integrity of the vehicle.
Moreover, coolant leaks from a bad heater core can result in a loss of coolant from the vehicle’s cooling system. Insufficient coolant levels can lead to engine overheating, which can cause severe damage to engine components such as the cylinder head, gaskets, and pistons. In extreme cases, overheating can result in engine failure, requiring costly repairs or replacement.
Additionally, a malfunctioning heater core can affect the vehicle’s heating system, resulting in decreased heating performance or the inability to defrost windows effectively. Reduced visibility due to fogged or frosted windows can pose safety risks while driving, increasing the likelihood of accidents or collisions.
Furthermore, neglecting to address issues with the heater core can result in additional repair costs over time. For example, allowing coolant leaks to persist can lead to further damage to the vehicle’s cooling system, necessitating repairs or replacements of other components such as hoses, water pump, or radiator.
How to Professionally Flush Heater Core?
Flushing a heater core professionally involves following a systematic approach to ensure thorough cleaning and optimal performance of the heating system. Here’s a step-by-step guide:
- Safety Precautions: Begin by ensuring the vehicle is parked on a level surface and the engine is turned off. Allow the engine to cool down completely before starting the flushing process. Additionally, wear appropriate protective gear, such as gloves and eye protection, to prevent contact with coolant and other chemicals.
- Locate Heater Core: Identify the heater core in the vehicle, typically located behind the dashboard or firewall. Refer to the vehicle’s service manual for specific instructions on accessing the heater core, as it may require removing interior components or accessing it from underneath the hood.
- Coolant Drainage: Before flushing the heater core, drain the coolant from the vehicle’s cooling system. Locate the radiator drain valve or remove the lower radiator hose to allow the coolant to drain into a suitable container. Dispose of the old coolant according to local regulations.
- Disconnect Heater Hoses: Using appropriate tools, carefully disconnect the heater hoses from the heater core. Be prepared for coolant spillage and have a catch pan or bucket ready to collect any fluid that may drain out.
- Flush with Water: Attach a flushing tool or garden hose with a nozzle attachment to one of the heater core hoses. Turn on the water supply and flush water through the heater core in both directions to dislodge any debris or sediment. Continue flushing until the water runs clear and free of contaminants.
- Chemical Flush (Optional): For stubborn buildup or corrosion, consider using a commercial cooling system flush solution. Follow the manufacturer’s instructions for mixing and applying the flush solution to the heater core. Allow the solution to circulate through the core for the recommended duration to dissolve deposits effectively.
- Reverse Flush: After chemical flushing (if applicable), repeat the water flushing process to remove any remaining residue or flush solution from the heater core. Ensure that clean water flows freely through the core in both directions.
- Inspect and Reconnect Hoses: Inspect the heater hoses for signs of damage or deterioration. Replace any damaged hoses before reconnecting them to the heater core. Secure the hoses tightly with hose clamps to prevent leaks.
- Refill Coolant: Once the flushing process is complete and the heater hoses are reconnected, refill the vehicle’s cooling system with fresh coolant. Use the recommended coolant type and mixture ratio specified by the vehicle manufacturer.
- Bleed Air from System: To prevent air pockets from forming in the cooling system, bleed air from the system by opening the radiator cap or bleeding valves as per the vehicle’s specifications. Start the engine and allow it to reach operating temperature while monitoring coolant levels and temperature gauge.
- Test Heating System: Test the vehicle’s heating system to ensure it is functioning correctly. Turn on the heater and verify that hot air flows from the vents at the desired temperature.

- Why Are My Car Headlights Not Bright Enough? - May 9, 2024
- How Long Can You Drive With An EVAP Leak? - May 9, 2024
- What Does B Stand for in a Car? [Full Guide] - May 9, 2024


![Sealing Motor Oil Leaks From the Outside [A Practical Guide]](https://automhelp.com/wp-content/uploads/2023/06/How-to-Fix-Engine-Oil-Leaks-in-Your-Car_000021357-768x432.webp)